Category Archives: Appetizers

Roasted Heirloom Carrots with Harissa Aioli

HeirloomCarrotsroasted

I’m a full-fledged member of carrot-oholics anonymous. I’ve learned to love these root vegetables.

But, in truth, for most of my life, I never liked carrots. Raw, they’re not so bad. Cooked, I really loathed them. The taste of steamed or boiled carrots was so revolting to me.

So, why did I detest cooked carrots? I guess I never got over the shockingly bad tasting carrots my mom fed me from a jar when I was a baby. Is it possible to remember what food tasted like when you were a baby? I don’t know, I guess part of my brain still remembers the awful taste.

To this day, I feel for babies. The taste of baby food in jars is pretty awful. Okay, so the fruit ones are not that bad, but the vegetable ones are nasty – enough to scar your taste buds for life.

If you don’t remember what they taste like, pick up one of those carrot baby food jars and you’ll know what I’m talking about.

HeirloomCarrots-2

So, there was just no room for carrots in my repertoire. The one exception was when I was making a pureed veggie soup that included carrots. The pureeing process made the cooked carrot taste disappear into oblivion.

So why am I now into rabbit food?

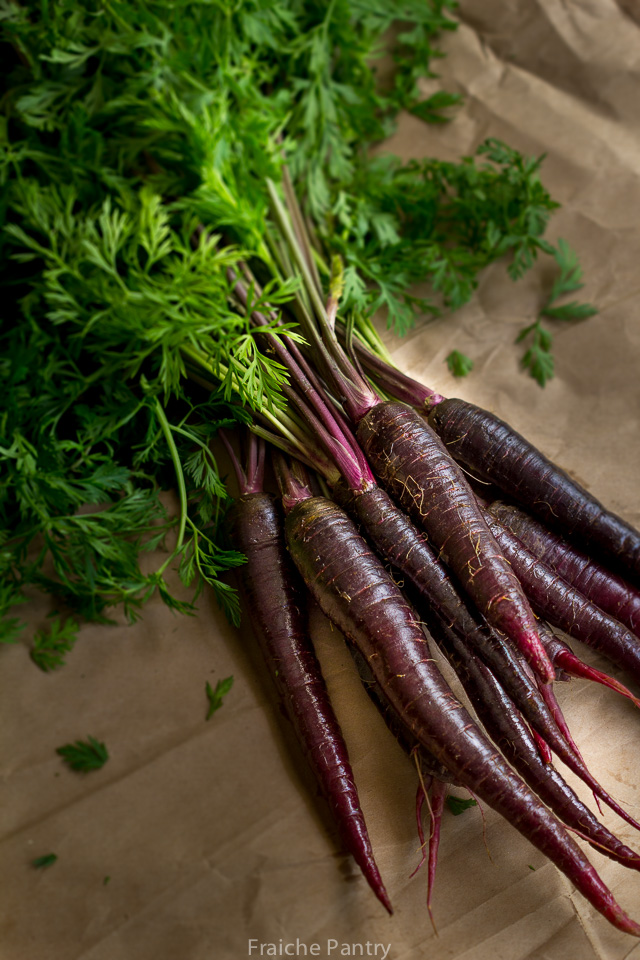
It was when the heirloom variety caught my attention at a local farmers’ market.

Initially, it was their stunning rainbow colors that make them hard to ignore. Then, after bringing a bunch home and roasting them, I discovered that their delicious flavor is far superior to the modern carrots you find at grocery stores.

HeirloomCarrots

In recent years, carrots, especially heirloom, have enjoyed a huge spike in popularity. Chefs everywhere have been coming up with creative ways of cooking them. Finally no more boiled or steamed carrots. I was inspired to give the carrot a second chance. I now feel more at ease seeing it on my plate. I no longer associate the taste of carrots with my babyhood culinary trauma.

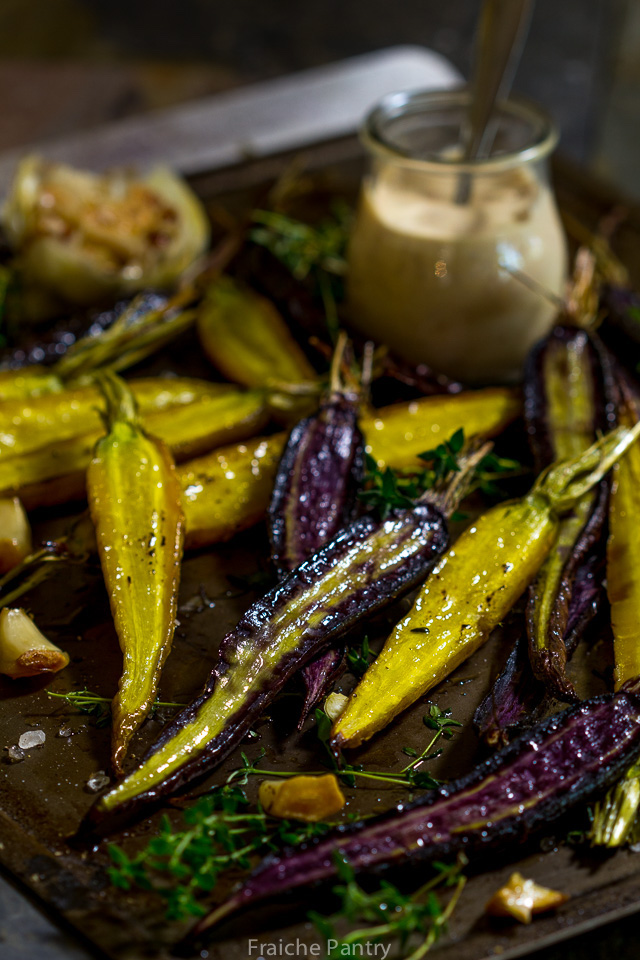
Roasting them became my favorite way to enjoy them. With its child-like simplicity, it is hardly a recipe. It is just a method of cooking them that brings out the sweeter more complex flavor. I don’t even peel them. I give them a good scrub, season them and then roast them. The beauty of it is you can use a simple seasoning such as salt, pepper and olive oil. Or, you can experiment with more exotic spices, such as Indian curry spices. The result is a great tasting veggie that will leave you licking your fingers…

Thyme

Serve them as the perfect side dish for chicken, fish or steak. Or have them as an appetizer with a nice glass of Pinot Noir or Gamay Beaujolais.

***Note: Due to the risk of salmonella, I am not using a traditional aioli recipe that calls for raw egg yolks. For this post, I use store bought mayonnaise as a substitute.

***Harissa is an aromatic chili pepper paste that is widely used in middle eastern foods. It is readily available in specialty stores and most grocery stores.

Thyme Roasted Heirloom Carrots with Harissa Aioli
Prep time: 
Cook time: 
Total time: 
 
Ingredients
  • 1 bunch organic heirloom carrots tops removed
  • 1 head of garlic unpeeled and cut in half
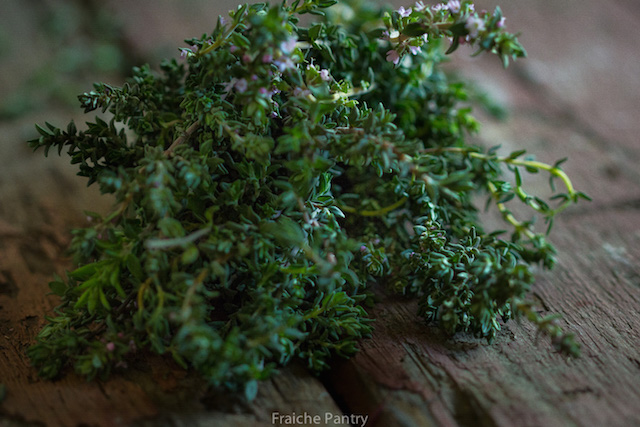
  • 8 sprigs fresh thyme chopped plus more for garnish
  • 3 tbs olive oil
  • Kosher salt
  • Fresh ground black pepper
Instructions
  1. Preheat oven to 400 degrees
  2. Thoroughly wash and dry the carrots. Slice the thick carrots in half lengthwise. Leave the skinny ones whole. Spread the carrots and garlic halves on a large cookie sheet. Season with salt, pepper, thyme and olive oil. Make sure the garlic halves are fully coated in olive oil.
  3. Roast at 400 degrees until tender - about 30 to 45 minutes depending on the thickness of the carrots.
  4. Remove from oven, Transfer to a serving plate. Sprinkle with few sprigs of fresh thyme and serve immediately with harissa aioli.
Notes
Some people blanch or steam the carrots for few minutes before roasting them. I skip this step.

 
Harissa Aioli
 
Ingredients
  • ½ cup mayonnaise
  • 2 garlic cloves minced
  • 1 tbs lemon juice
  • 1 tbs harissa
Instructions
  1. Whisk all four ingredients together. Adjust seasoning to taste..

Bell Pepper Tart Tatin

PepperTart-2

The bell pepper is no longer the sexiest veggie in town.

Most people would say they are bored with them. Some find them difficult to digest, and others are simply tired of eating them.

I too suffer from the same culinary boredom when it comes to bell peppers. I routinely toss them in my grocery basket with dreams of creating an exciting dish. But once I get home, I never quite know what to do with them.

BellPeppers

Having said that – I still love bell peppers.

They remind me of my childhood summer Sundays when I helped my grandfather grill lamb brochettes. He grilled them on rosemary skewers with roasted bell peppers a la provencal. I was in charge of turning the skewers so they wouldn’t burn. My grandfather kept a close eye on me.

PepperTart

A symbol of summer holidays and BBQs, the bell pepper has more than one trick up its sleeve to tickle our taste buds.

Nutritionally speaking, it is still the “bell” of the ball. The bell pepper has a myriad of antioxidants from vitamin C, A to B6 and magnesium.

RedOnions

Still, the bell pepper is not always liked. For example, the green one, with its thick fleshy texture and bitter flavor, is often dismissed as unripe.

The poor bell pepper seems to be stuck in a rut. It has become the vegetable chefs and cooks love to hate.

So how do we make bell peppers less boring?

The following recipe is my effort to spice things up and make the bell pepper “sexy” again.

Bell Pepper Tart Tatin
Cook time: 
Total time: 
 
Ingredients
  • 2 yellow bell peppers
  • 2 red bell peppers
  • 2 tbs butter
  • 2 tbs olive oil
  • 2 red onions
  • ½ cup red wine
  • ¼ cup fig balsamic vinegar
  • 1 tbs herbs of provence
  • ½ cup chopped olive nicoise
  • Store bought frozen puff pastry
  • 2 cups grated gruyere cheese
Instructions
  1. Defrost puff pastry according to package instructions and keep in the refrigerator. Remove from the fridge 15 minutes before use.
  2. Peel and slice the onions into thin slices. In a pan, heat the herbs on low to release their fragrant oils. Take care not to burn them. Add butter and olive oil. Continuing on low heat, let butter and oil infuse with herbs - about one minute. Add onion, wine and vinegar. Cook over medium heat stirring occasionally until all liquid evaporates - about 30 minutes.
  3. Meanwhile wash and cut the peppers into quarters lengthwise. Place them skin side up on a cookie sheet lined with parchment paper and bake in a preheated oven at 350 for about 15 minutes. Wrap the cooked peppers in foil and let steam for twenty minutes. Once cooled, peel the peppers and set aside.
  4. Roll the puff pastry into a sheet large enough to cover a 9 inch non stick baking pan. Lightly oil the pan and arrange the pepper slices in a radial pattern. Sprinkle the peppers with a thin layer of grated gruyere cheese. Add the cooked onion and spread over the gruyere evenly. Sprinkle the chopped olives over the onion layer and top with another layer of gruyere taking care to cover the entire surface. Cover with puff pastry pressing the edges inside the pan. Bake in a preheated oven at 375 degrees until golden brown - about 35 minutes.
  5. Pull the tart from the oven and let rest for 15 minutes. Invert a plate over pan and using pot holders to hold the plate and baking pan together, invert the tart onto the platter. Garnish with halved olives and few sprigs of fresh thyme. Serve warm..
Notes
Tart can be prepared and assembled up to one day in advance.
Use any type of fruity balsamic vinegar you like. I used Sonoma Harvest fig balsamic vinegar.

Perfect for lunches and brunches, this tart can be served as a main course with a salad or as a side dish.

Cedar-Planked Brie with Shiitake Mushrooms

Cedar-Planked Brie

For me a piece of cheese and a crusty baguette make the perfect marriage. Add a glass of wine and you have a menage a trois made in heaven.

France produces over 200 types of cheeses and it can be quite difficult to choose a favorite. Some varieties are more known than others. One of my favorites is Brie –  or as a connoisseur would call it  “true Brie”.

Considered to be perhaps the most popular cheese in the world, authentic Brie has a creamy texture and a sweet buttery flavor with a hint of mushrooms.

Planked-Brie with Mushrooms

Brie’s popularity soared in the 70s and 80s. Unfortunately, not all Bries are created equal. French Law requires that Brie be made from unpasteurized (raw) milk. In 1985 the FDA began the require that all cheeses be pasteurized or cured a minimum of 60 days which pretty much outlawed true Brie in the United States.

To make matters worse, France, like England with its cheddar, neglected to protect/trademark the term Brie. As a result, the name Brie became a generic term allowing for a wide variety of knock-offs to flood the American market.

However, in 1980, Brie de Meaux and Brie de Melun were awarded AOC (appellation d’origine contrôlée) status and were protected under French law. They are considered true Brie and both are produced just a few miles east of Paris.

Mushrooms
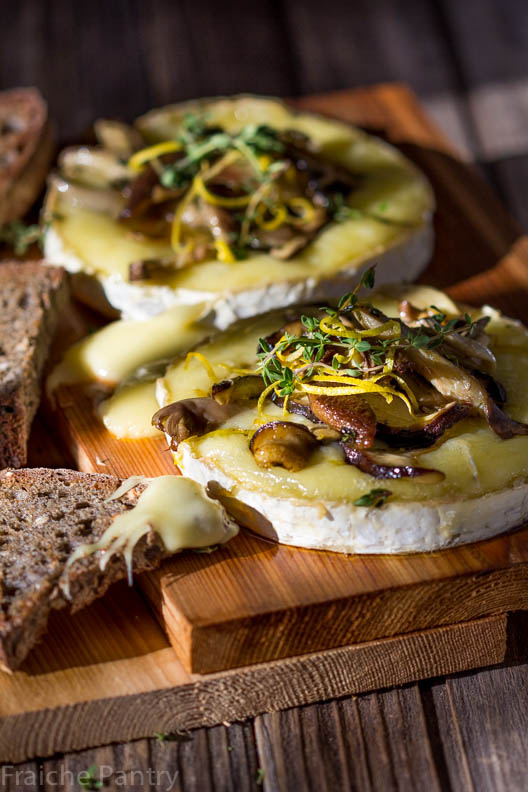
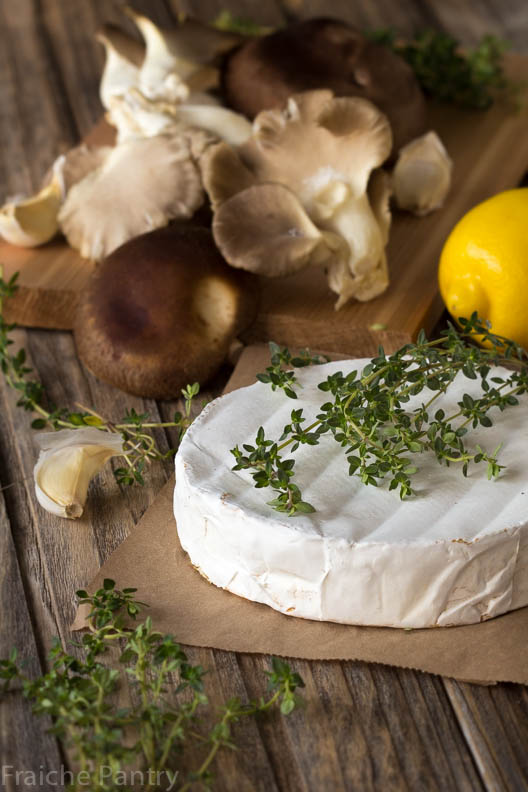
Brie de Meaux is more delicate than its sister Brie de Melun which is more rustic and full flavored. Good luck finding either of them in the United States. They are both made from raw milk and thus prohibited from entering the US.

The only way for Americans to experience true Brie is to travel outside of the US.

For this recipe I used a Brie-style cheese made from pasteurized milk. The use of soaked cedar plank adds a subtle woodsy flavor to the baked brie which further enhances the flavor of the mushroom topping.

I usually bake cedar-planked Brie on the bbq using indirect heat.  Today I’m doing it in a 400 degree oven.

If you don’t have a cedar plank on hand, use a baking sheet lined with parchment paper.

5.0 from 2 reviews
Cedar-Planked Brie with Shiitake Mushrooms
Serves: 4
 
Ingredients
  • 1 wheel firm, ripe brie about 13.5 oz room temperature
  • ½ lb fresh shiitake mushrooms
  • ¼ lb fresh oyster mushrooms
  • 1 clove garlic thinly sliced
  • 4 sprigs fresh thyme
  • The zest of one lemon
  • ½ cup dry white wine
  • Olive oil
  • Salt and pepper
Instructions
  1. Soak Plank in lukewarm water for 2 hours. You may have to weigh it down to submerge.
  2. Preheat oven to about 400 degrees.
  3. Put mushrooms in a bowl and drizzle with olive oil just enough to moisten.
  4. Add garlic slices, lemon zest, thyme, salt and pepper and toss to combine.
  5. In a large skillet heat one table spoon of olive oil. Add the mushroom mixture and the wine. Cook until golden brown. Remove from the heat and keep warm.
  6. Drain the plank and place onto a baking sheet lined with foil. Lightly brush the plank with olive oil. Using a warm knife, carefully cut the brie wheel in half horizontally. Try to not damage the outside rind. It will keep the Brie from leaking. Place both halves rind side down onto prepared cedar plank. Bake in oven for 10 to 12 minutes or just until cheese starts to slightly bubble. Do not overcook or it will start to overflow.
  7. Remove the brie from the oven. Keep it on the plank. Top each half with half of the mushroom mixture.
  8. Serve directly from the plank with a nice crusty baguette or slices of country bread.
Notes
To cut the brie in half, try using a piece of unflavored dental floss. With a pairing knife, make an initial cut halfway down along the outer side of the brie. Take a long piece of dental floss and wrap each end around each index finger. Starting at the front of the wheel at the initial cut, cut through the wheel with the floss, separating the top half from the bottom.


Avocado with Shallot Vinaigrette

I simply can’t have enough of this buttery fruit (yes, it is actually a fruit). Avocados are my go to comfort food. Something about them that just puts me in a good mood.

Avocados with Shallots

I usually make my favorite guacamole recipe but today I didn’t feel like doing a lot of chopping. So I opted for an avocado salad with shallot vinaigrette. Quick and delicious. I hope you enjoy this heart-healthy and hunger-eradicating dish..

Avocados

Avocado with Shallot Vinaigrette
Serves: 4
 
Ingredients
  • 2 avocados
  • 1 tbs minced shallot
  • 1 tsp chopped cilantro
  • the juice of one lime
  • Shallot vinaigrette
Vinaigrette:
  • 1 tbs minced shallot
  • 1½ tbs red wine vinegar
  • ½ tsp Dijon mustard
  • ¼ cup olive oil
  • salt & pepper
Instructions
Vinaigrette:
  1. To prepare the vinaigrette: soak shallots in vinegar for 15 minutes. Whisk in mustard. Add olive oil, salt and fresh ground pepper. Mix well then taste. Adjust seasoning to your taste.
Avocados:
  1. Cut the avocados in half. Remove the pits. Cube them but keep them in their skin. Rub the top with some lime juice to prevent browning. Sprinkle halves with minced shallots and chopped cilantro before dousing them with vinaigrette.