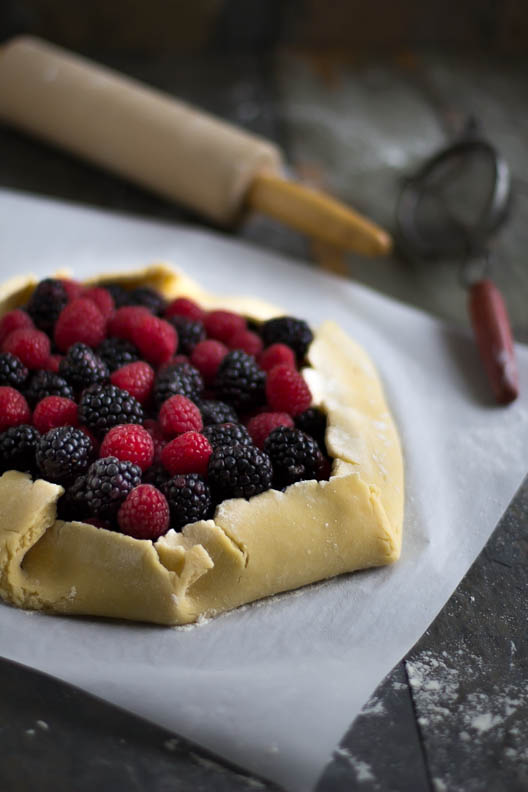
Category Archives: Desserts

Gluten Free Pumpkin Spice Cakelettes

There is always room for dessert – especially for sugar-free, gluten-free delicious desserts.
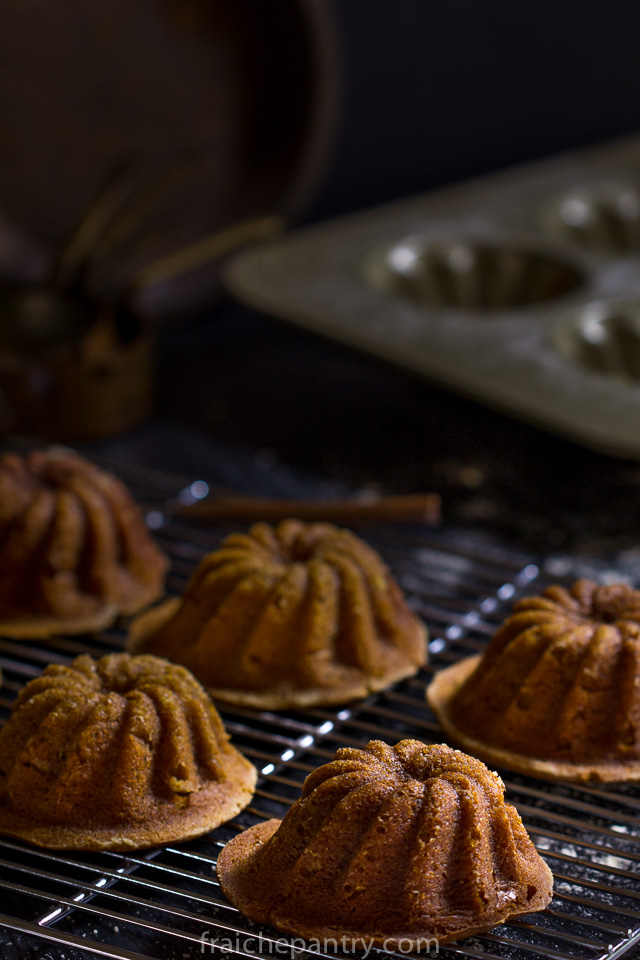
Gluten Free Pumpkin Spice Cakelettes1

When I invite people over, I want to be able to serve delicious desserts that deliver loads of flavor. Over the years, many of my friends started to follow a gluten-free diet. Consequently, it became increasingly difficult to entertain at home and live up to my standards.
So I decided to work on converting some of my favorite recipes into gluten-free versions. The goal was to create delicious desserts without bulk and flour. Desserts that anyone could enjoy whether or not they follow a gluten-free diet.
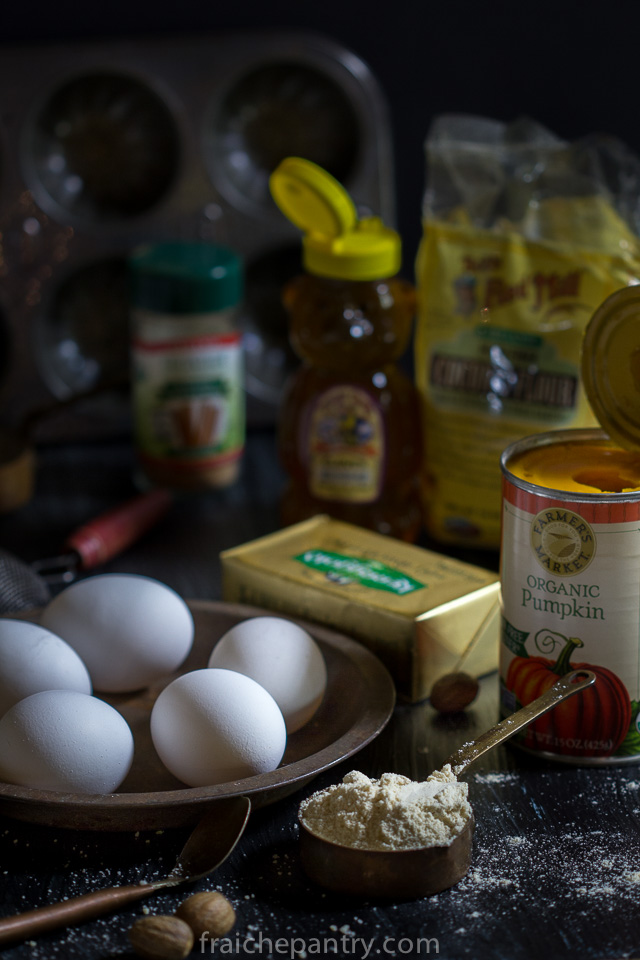
Gluten Free Pumpkin Spice Cakelettes

This recipe is an adaptation of King Arthur’s gluten-free pumpkin cake. The KA recipe uses their gluten-free mix. The reason I don’t use gluten-free baking mixes is because many of them contain Xanthan Gum, and I happen to be allergic to xanthan gum. Instead, I use a combination of almond flour and coconut flour and an extra egg for binding.
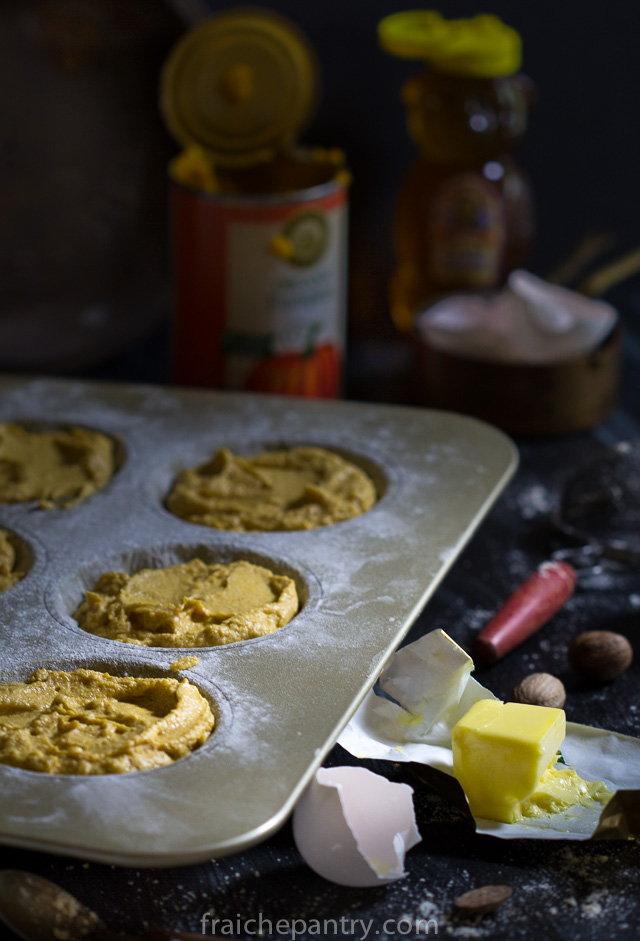
Gluten Free Pumpkin Spice Cakelettes-2

These are deliciously light, moist, sweet and spicy pumpkin cakelettes. The coconut flour adds a wonderful flavor without overwhelming the rest of the ingredients. The honey gives just enough sweetness to make it pleasant. Who’s missing gluten?

Gluten Free Pumpkin Spice Cakelettes
 
Ingredients
  • 1 can organic pumpkin puree
  • 8 oz of butter (room temperature)
  • ½ cup of honey
  • 4 extra large eggs (room temperature)
  • ½ cup coconut flour
  • 1 cup almond flour
  • ½ tsp salt
  • 1 Tbs pumpkin pie spice
  • 1 and ¼ tsp baking soda
Instructions
  1. An hour before making the cakelettes bring eggs and butter to room temperature.
  2. Preheat oven to 350 degrees. Generously butter and flour a cakelette pan. Warm the honey before measuring by putting the container in a bowl of hot water (not boiling) for a couple of minutes.
  3. In a bowl mix together all dry ingredients. Using a mixer with flat attachment, cream softened butter for a couple of minutes. Add the honey and mix at medium speed for about 5 minutes until creamy and fluffy. Add eggs one at a time mixing well and scraping the sides of the bowl after each addition. By the fourth egg addition the emulsion of the batter will seem like it's breaking down (looking separated and weepy). No worries, once you add pumpkin purée and the dry ingredients, it will smooth out.
  4. Add pumpkin purée and mix then the dry ingredients and mix just enough to incorporate. Pour batter in buttered loaf pan and bake at 350 for 45 minutes... Watch that the top of the cake doesn't burn. If your oven tend to be on the hotter side, reduce the temp to 335 degrees.
Notes
If you are 100% gluten free, you can use rice flour to flour the pan. I found that using extra large eggs resulted in more leavening. If you don't have extra large eggs add an extra egg to the batter.


Buckwheat Chocolate Banana Bread with Tart Cherries

BuckwheatBananaBread-3

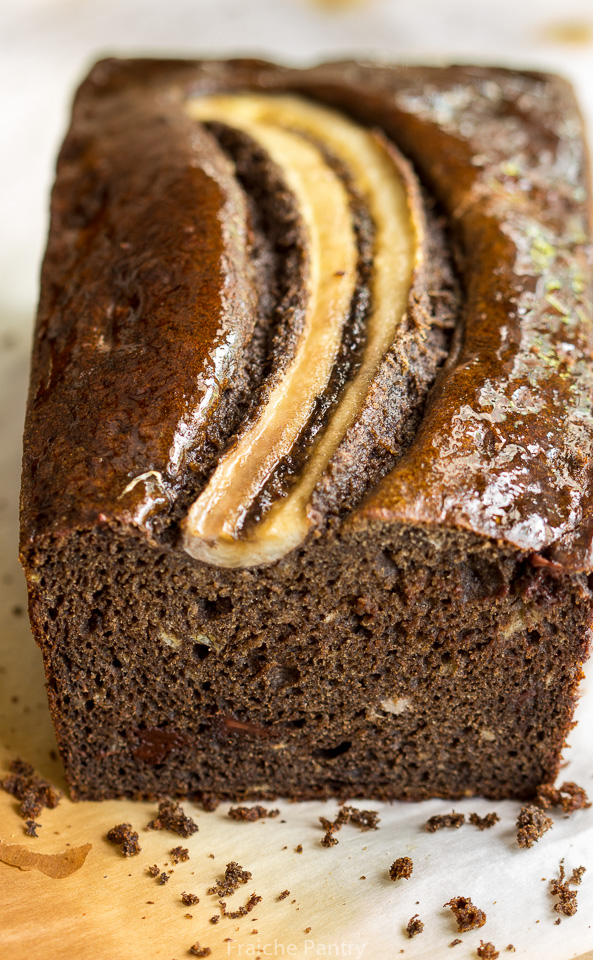
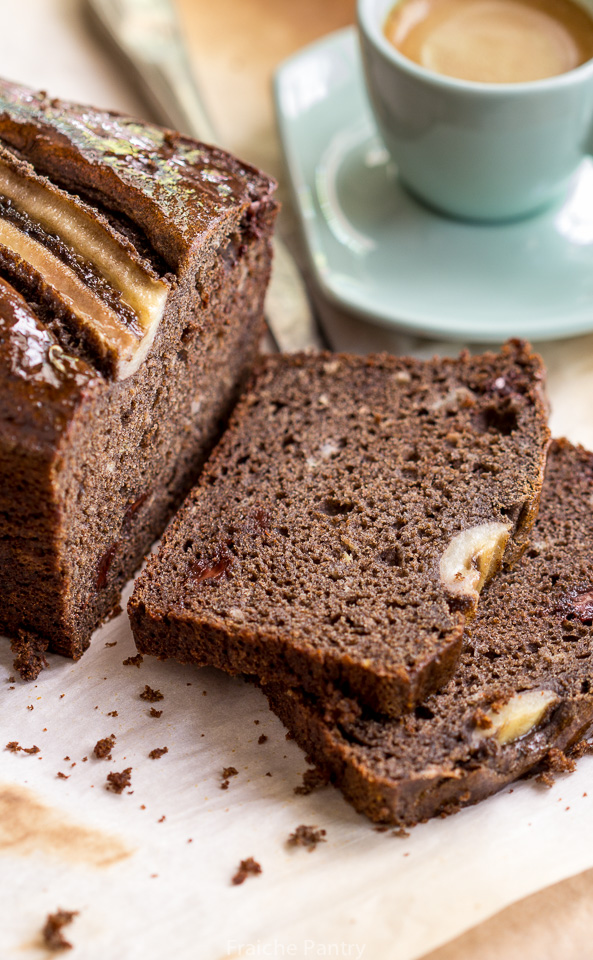
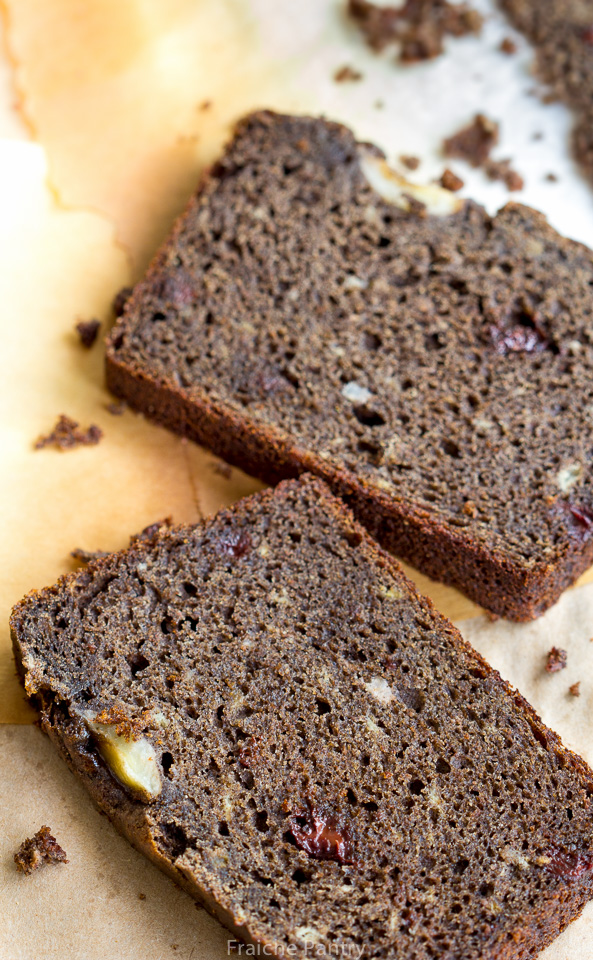
Always loved basic banana bread but this version quickly became my favorite. The first time I made it I used a 50/50 mix of plain flour and buckwheat flour – then I decided to experiment with a buckwheat only version – turning out a perfectly fluffy, moist and delicious loaf –  a healthy nutritious version of an American classic.

BuckwheatBananaBread-2

Why buckwheat? Though I’m not gluten free, I wanted to try my hand at a healthy version of banana bread. Buckwheat is high in protein, fiber and  loaded with nutrients. A great alternative to white flour baking, it has a delicious nutty flavor especially when paired with sweet ripe bananas and chocolate.

BuckwheatBananaBread-4

This recipe is simple and easy to make. Most of the ingredients you may already have in your pantry. All that is required is a bowl and a fork to mix the batter.

Buckwheat Chocolate Banana Bread
 
Ingredients
  • 1⅔ cups Bob's Red Mill buckwheat flour
  • 2 teaspoons baking powder
  • ½ teaspoon baking soda
  • 3 medium very ripe bananas, peeled + half a banana sliced lenghtwise
  • ¾ cup sugar
  • 2 large eggs
  • 1 ½ teaspoon vanilla extract
  • ¼ cup yogurt
  • 4 tablespoons buttermilk
  • ⅓ cup vegetable oil
  • ½ cup chocolate chips
  • ¼ cup dried tart cherries
Instructions
  1. Preheat an oven to 350°F. Generously grease a non-stick metal loaf pan (preferably 1½ lb. pan) with butter.
  2. In a bowl, combine the flour, baking powder, salt and baking soda.
  3. In a large bowl, smash the bananas with a fork. Add the sugar, yogurt, buttermilk, oil, eggs and vanilla and mix with a spoon/fork until well blended.
  4. Add the flour mixture to the banana mixture and stir just until blended. Gently mix in the chocolate chips and tart cherries.
  5. Scrape the batter into the prepared pan, spreading it evenly with the spoon.
  6. Gently lay the half banana on top of batter right in the center (optional).
  7. Bake in preheated oven until a toothpick inserted into the center of the bread comes out clean with just a few crumbs clinging to it, about 45 to 60 minutes.
  8. Remove the pan from the oven, set it on a wire cooling rack and let cool for 20 minutes.
  9. Gently run a table knife along the inside edge of the pan to loosen the bread from the sides.
  10. Using oven mitts, turn the pan on its side and slip the loaf out onto the wire rack. Let the loaf cool before serving. Makes 1 loaf.
Notes
If using 1 lb. loaf pan, batter may overflow a bit during baking


Brown Sugar Butter Cookies

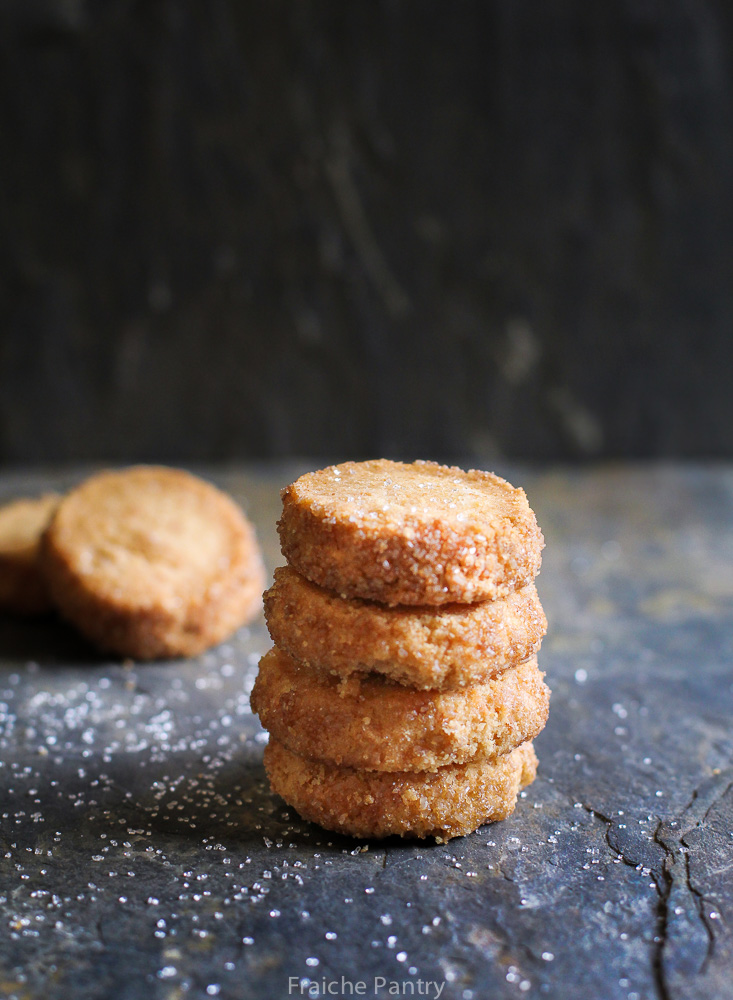
BrownSugarButterCookies-2Called “Sables” in french (meaning “sand” to describe their breadcrumb like texture), these melt on your tongue delicate butter cookies are perfect accompaniment to an afternoon tea or coffee.  It is said that the cookies were invented in 1670 in Sable-sur-Sarthe in Pays de la Loire region in France. The flavor of these cookies depend largely on the quality of butter used. So I recommend using a good quality european butter such as Kerrigold or Lurpak…

BrownSugarButterCookies

Brown Sugar Butter Cookies
 
Ingredients
  • 8 oz unsalted butter softened
  • 6 oz brown sugar
  • 2½ cups of all purpose flour
  • 1 large egg
  • 1 tsp vanilla extract
  • ¼ cup sanding sugar
  • ½ tsp fleur de sel
  • 1 egg white, beaten
Instructions
  1. Sift dry ingredients (flour and fleur de sel) and set aside. In an electric mixer fitted with the paddle attachment, mix butter and granulated sugar on medium speed until pale and fluffy, about 3 minutes. Reduce speed to low and add egg and vanilla. Mix until well combined. Mix in dry ingredients just enough to form a dough ball.
  2. Halve the dough and shape each half into a log. Roll each log in plastic wrap and refrigerate for at least an hour or overnight.
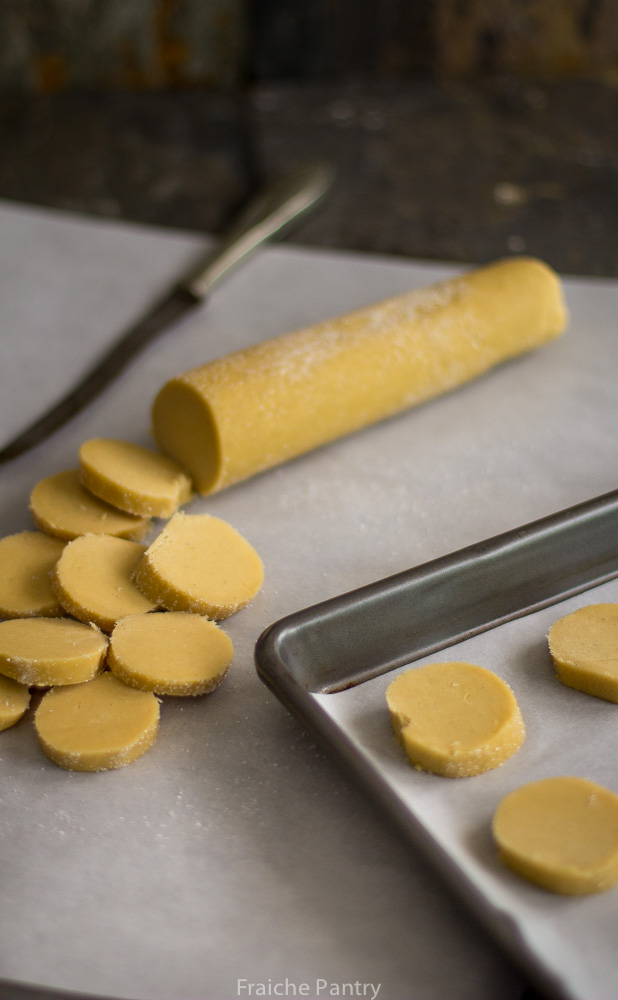
  3. When ready to bake, preheat oven to 350 degrees. Brush each log with egg white and roll in sanding sugar. Cut into ¼ inch thick rounds and place on baking sheets lined with parchment paper. Bake for 15 to 20 minutes until edges are golden. Let cool in wire racks before serving.
Notes
The dough can be made in advance and frozen for up to one month..


Madeleines

Madeleines

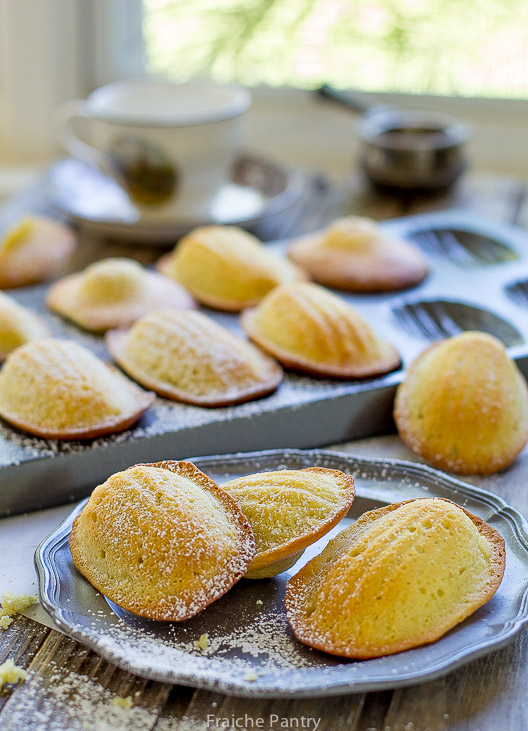
I could try to describe to you why I love madeleines but the truth is no one can describe madeleines like Marcel Proust.  The French author made madeleines world famous in his literary masterpiece “Remembrance of Things Past”.  Proust’s poetic description of what it feels like to eat a madeleine may convince you to experience your own “Proustian Madeleine Moment.”

Excerpt from “Remembrance of Things Past”:

“…one day in winter, as I came home, my mother, seeing that I was cold, offered me some tea… She sent out for one of those squat plump little cakes called “petites madeleines” which look as though they had been molded in the fluted valve of a scallop shell…

I raised to  my lips a spoonful of the tea in which i had soaked a morsel of the cake.  No sooner had the warm liquid mixed with the crumbs touched my palate than a shudder ran through me and I stopped, intent upon the extraordinary thing that was happening to me. An exquisite pleasure invaded my senses…

 And suddenly the memory revealed itself. The taste was that of the little crumb of madeleine which on Sunday mornings at Combray… my aunt Leonie used to give me, dipping it first in her own cup of tea or tisane … and the whole of Combray and its surroundings, taking shape and solidity, sprang into being, town and garden alike, from my cup of tea.”

Marcel Proust (1871-1922)

Lemon Scented Madeleines

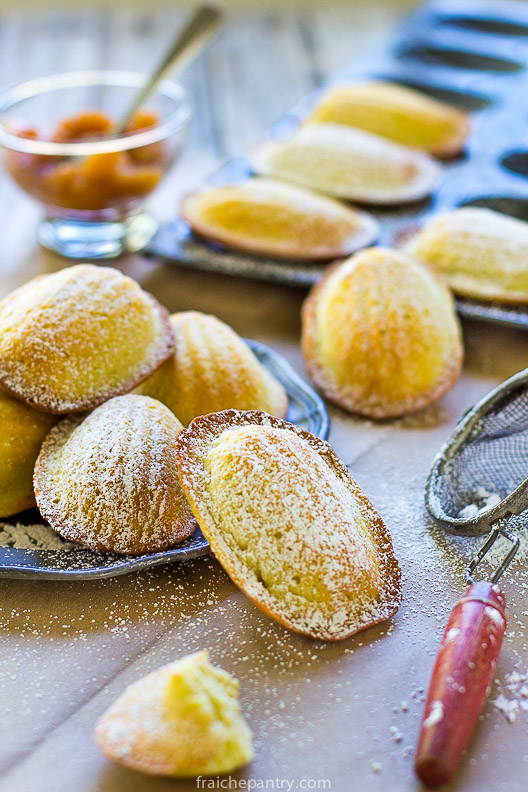
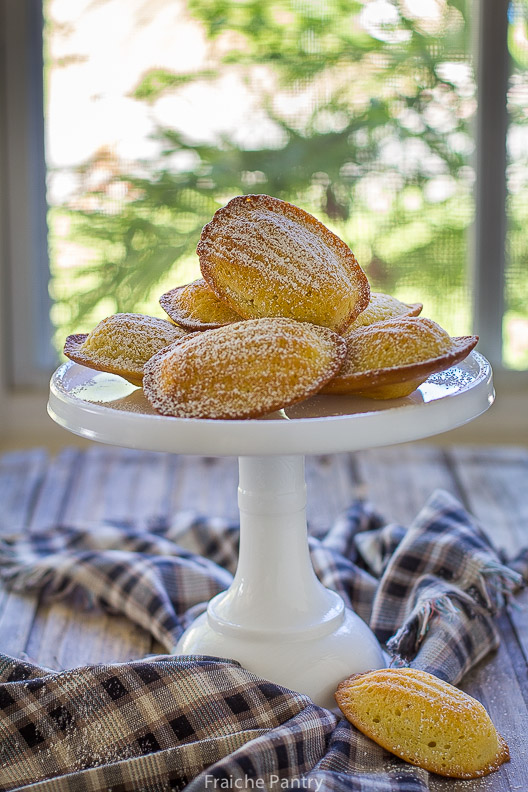
I hope this recipe for madeleines will conjure up some great memories for you.

Fun Facts:

Although typically referred to as a cookie, madeleines are actually small buttery tea cakes. There are several stories circulating about the history of madeleines. Which story is correct?  No one knows. But historians believe they originated in the town of Commercy in the Lorraine region of France during the 18th century.

Things I’ve learned:

To produce plump, delicate and delicious madeleines you will need to follow few basic guidelines:

  1. Bring cold ingredients to room temperature before making the batter
  2. Make the batter the day before and keep it cold until ready to bake
  3. Freshly grated lemon zest is essential. Try to use organic lemons if you can
  4. Some say baking powder should never be used in making madeleines. In my opinion it takes a fair amount of patience and confidence to make them without any leavening agent. I find the use of baking powder makes the recipe full proof, especially if you are making madeleines for the first time.
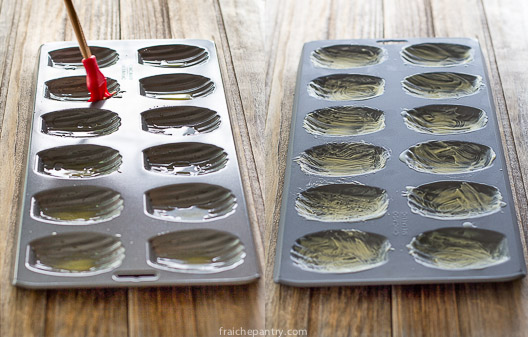
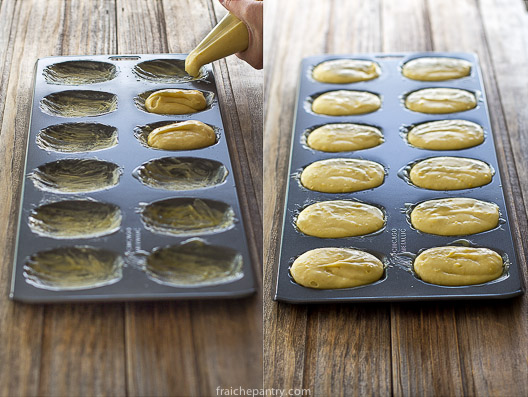
  5. Freeze the madeleine mold for few minutes before buttering it, otherwise the melted butter will just pool in the center of each cavity (see picture below – mold on the right side was cooled in the freezer before buttering.)

Buttered Madeleine Mold


When piping or scooping the batter into the mold, try to not overfill the cavities. If you notice in the picture below, I put too much batter. I was lucky it didn’t over flow. Next time I will use slightly less. No need to spread the batter. It will spread on its own.

Madeleines


Tools you will need:

Tools

  • Madeleine mold (can be purchased for around $12 on amazon or at target)
  • Electric hand mixer or whisk
  • Kitchen scale
  • Sifter
  • Lemon zester
  • Spatula
  • Measuring cups and spoons
  • Small sauce pan
  • Pastry brush
  • Pastry bag
  • Mixing bowls

Madeleines


5.0 from 1 reviews
Madeleines
 
Ingredients
  • 3 oz butter
  • 2 eggs
  • 4½ oz sugar
  • 6¼ oz sifted flour
  • 1 tsp baking powder
  • 2½ tbs of milk (room temperature)
  • Finely grated zest of 2 lemons
  • Pinch of salt
Instructions
The day before
  1. Prepare the batter. In a small saucepan melt butter taking care not to burn it. Remove the saucepan from the heat pour the butter in a cup or small bowl to cool it down quickly. Sift together the flour, salt and baking powder and set aside.
  2. In another bowl, whip the eggs and sugar until thick and pale for about 5 minutes. Gradually add the milk while mixing. Fold in the sifted flour and the lemon zest until well incorporated. Finally whisk in the butter trying to add volume to the batter. Cover the bowl with plastic wrap, and chill in the refrigerator overnight.
The next day
  1. On the day of baking, preheat the oven to 400°F. While the oven is preheating, freeze the madeleine mold for 15 minutes. Take the mold out of the freezer and brush it generously with melted butter. Sprinkle with flour if you wish. Tap off any excess flour.
  2. Fill a pastry bag fitted with a plain tip with the batter and pipe it into the Madeleine mold, alternatively, you can spoon the batter into the mold. Bake in the preheated oven for 5 minutes until they begin to color. Lower the oven temperature to 325°F and continue cooking for 5-7 minutes. Remove the Madeleines from the oven, unmold immediately, and leave to cool on a wire rack.


Muesli Cookies with Fleur de Sel

Muesli Cookies

Years ago I was living in Chambery, a beautiful little town in the Rhône-Alpes region of France.  There was a little cafe, where I used to stop for my mid-morning caffeine fix. I would get my cafe espresso and a small cookie called “Croustillant de Muesli Choco au Sirop D’érable” (Muesli chocolate crunch-cookie with maple syrup).

I loved those cookies. I was so addicted to them I would literally devour them by the handful. They were that crazy-good. Just the right amount of sweetness and salt. Crispy and  super-crunchy.  And if that wasn’t enough, they were super nutritious.

I’ve never been able to find anything like them in Southern California.  Every now and then, I would get a craving for them so I decided it was time to try and make my own Croustillant de Muesli Choco.

After some online research and few recipes later, I struck out. I couldn’t find any recipe resembling the Croustillant de Muesli I had at that cafe. I decided to just start with a basic recipe for granola bars and work my way from there.

I made several attempts at replicating those wonderful cookies. My goal was to reduce the amount of sugar usually found in commercial granola bars.

One problem I kept running into is how to get the mixture to clump together without adding too much honey or maple syrup. Keep in mind, I was working from a memory of something that goes several years back.

Muesli Cookies-3

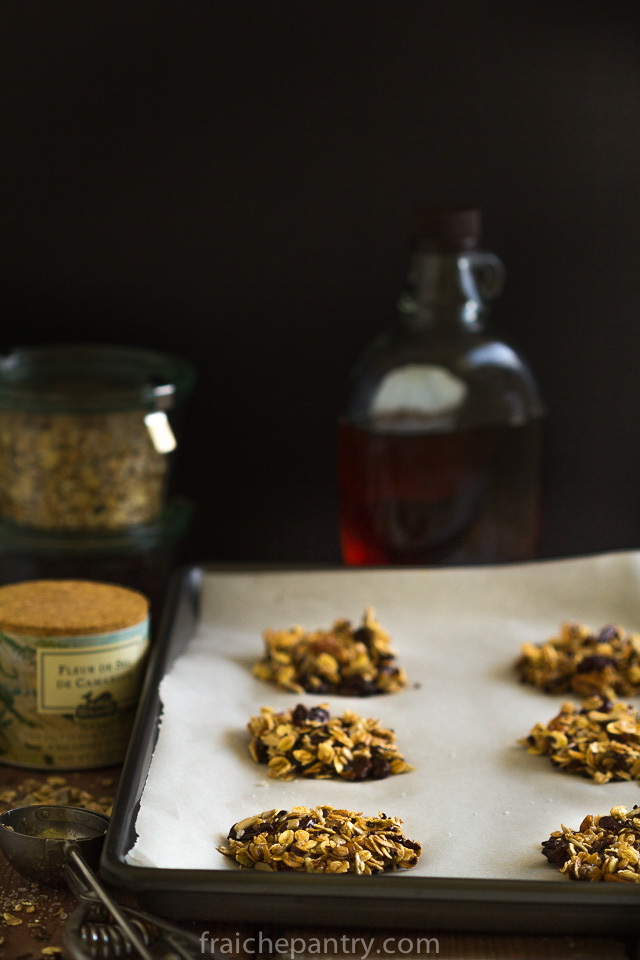
After more research on the internet, I discovered that one of the many secrets to making homemade granola bars was to add an egg white. The lightly beaten egg white acts like a glue and helps the granola mixture stick together.

So, after few trials and lots of errors, I finally produced delicious cookies that are nutritious enough for a great breakfast or a healthy tasty snack.  They are not exactly like the ones I had in France but they are darn close.

Muesli Cookies-2

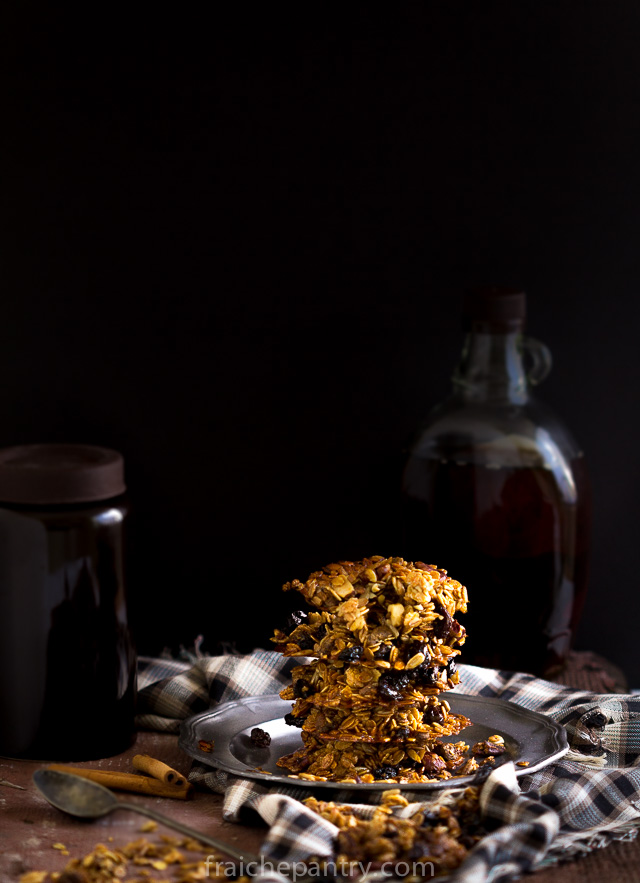
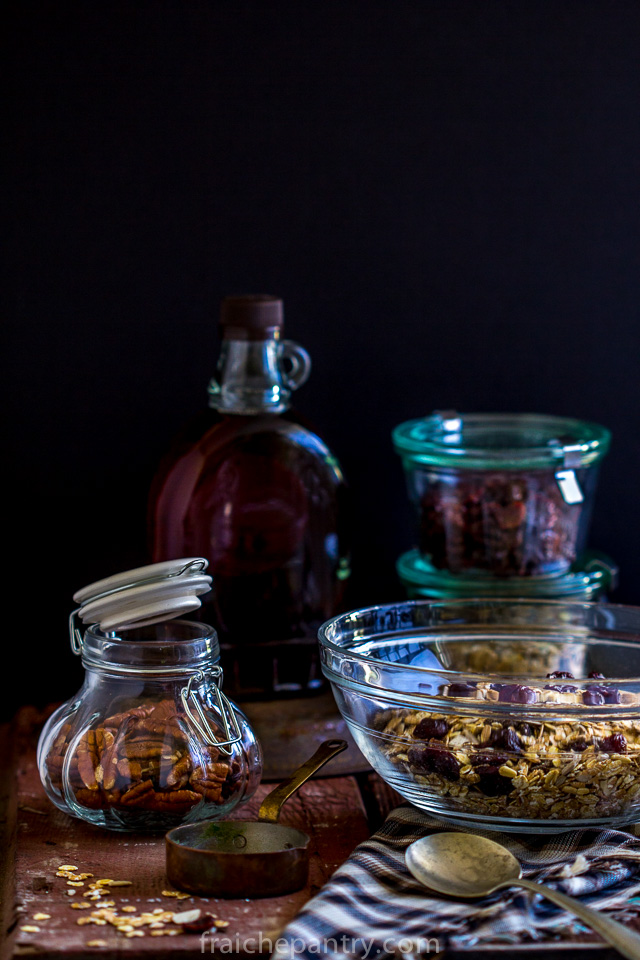
I use Bob’s Red Mill Muesli which contains rolled oats, wheat, rye, barley, almonds, dates, sunflower seeds and walnuts. I add a good quality olive oil –  just enough to make them crispy and super crunchy instead of chewy.

Muesli Cookies with Fleur de Sel
 
Ingredients
  • 3 cups muesli
  • ¼ cup tart cherries coarsely chopped
  • ½ cup pecans coarsely chopped
  • ¼ cup raw sesame seeds
  • ¼ cup coco nibs
  • ½ tsp vanilla paste
  • ¼ cup olive oil
  • ¼ cup maple syrup
  • 3 tbs honey
  • 1 egg white room temperature and lightly beaten
  • ¼ tsp kosher salt
  • Fleur de sel for sprinkling
Instructions
  1. In a small pot, mix the honey, maple syrup, vanilla and oil and heat on low until the mixture starts to simmer. Immediately, turn off the stove and let the mixture cool until it reaches room temperature.
  2. In a large bowl, combine muesli, pecans, sesame seeds and kosher salt. Add maple syrup mixture and stir.
  3. Let the mixture sit for about 15 to 20 minutes until it softens.
  4. Stir in the beaten egg white. Continue working the mixture, in fact I recommend that you crush it for few seconds with the palm of your hands until it starts clumping together forming a ball.
  5. Add, the chopped cherries, cocoa nibs and stir. Scoop the mixture onto a baking sheet using an ice cream scoop. Lightly sprinkle each cookie with Fleur de Sel and bake at 300 degrees for 20 to 25 minutes.
Notes
The cookies will still be soft right out of the oven. They will get crispy as they cool. Make sure to let them cool for at least an hour before serving.


French Rustic Berry Tart

Nothing would be more tiresome than eating and drinking if god had not made them a pleasure as well as a necessity.”  –  Voltaire

BerryTart

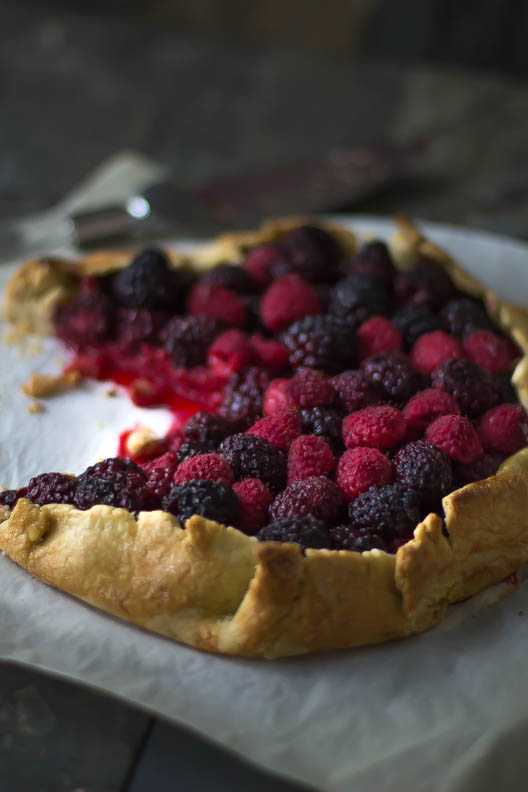
Today, with the rain dampening my spirit, I find myself in a mood for a pleasurable eating experience.  What could be more satisfying than a piece of berry tart and a cup of earl grey tea to brighten my day ?

Berries

This is a wonderful delicate tart that begs to be served with a scoop of vanilla ice cream. Make it your meal or your snack. Whatever you decide, you are in for a treat.


BerryTart Crust

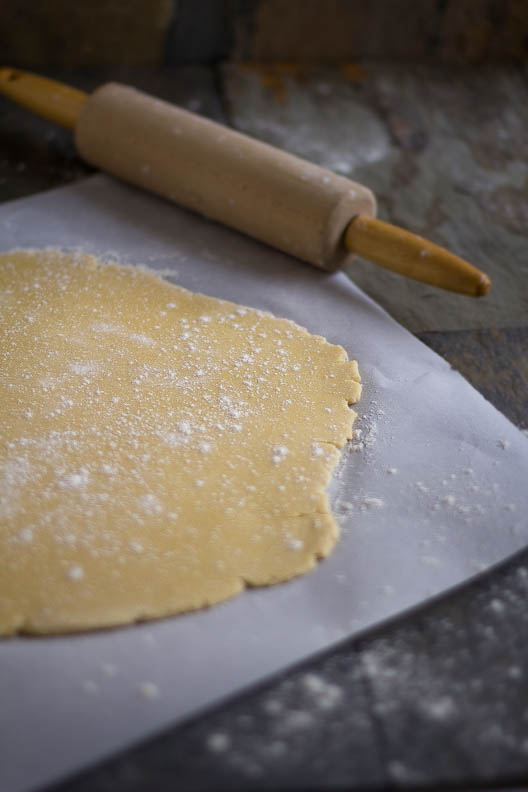
You can make this pastry dough in a snap using a food processor.

BerryTart


**Note: For the filling, Splenda can be substituted for sugar. Be sure to mix it with the cornstarch.

French Rustic Berry Tart
 
Ingredients
  • 2 cups all-purpose flour
  • ½ teaspoon salt
  • 12 tablespoons cold Unsalted butter cut into chunks
  • 2 large egg yolk (reserve the whites)
  • 5 to 6 teaspoons ice water
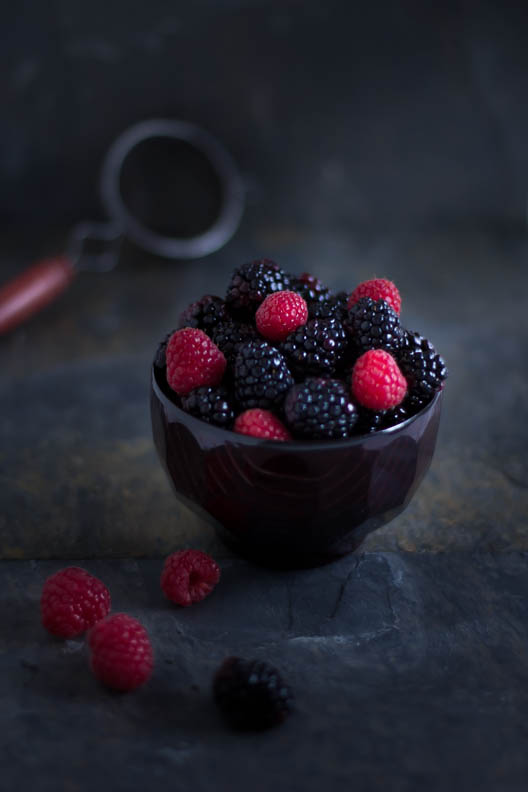
  • 2 cups raspberries
  • 2 cups blackberries
  • 4 tbs sugar
  • 3 tsp cornstarch or flour
Instructions
  1. In a food processor, mix flour and salt. Add butter and pulse until mixture resembles a coarse meal. Add egg yolks and water one spoon at a time; processing just until dough begins to form a ball. Form dough into a disk and wrap in plastic wrap. Let dough rest in refrigerator for 15 to 20 minutes.
  2. While the dough is resting, turn the oven on and preheat to 375 degrees (350 if your oven tend to be too hot).
  3. Line a baking sheet with parchment paper. Set one piece of plastic wrap on a work surface. Lightly dust it with flour. Set dough in center of plastic wrap sheet. Lightly dust dough surface with flour and cover with another piece of plastic wrap. With a rolling pin, roll dough evenly into a 14 inch disk.
  4. Peel off top sheet of wrap and invert dough into lined baking sheet. Remove remaining plastic wrap. In a small bowl, Mix sugar and cornstarch. Sprinkle center of dough with two tablespoons of cornstarch mixture – this will form a seal and prevent crust from getting soggy during baking. Distribute berries in center of pastry. In a bowl, Sprinkle remaining cornstarch mixture over berries. Gently fold edges over berries pleating to fit. Leave an opening of about six inches wide in center. Brush pastry with reserved egg whites and sprinkle with sugar.
  5. Bake tart at 375 until crust is golden and juices in center bubble. Cool in pan for 20 minutes before serving.
Notes
**Note: Do not use frozen berries. They will release too much liquid which will result in a very soggy crust.