
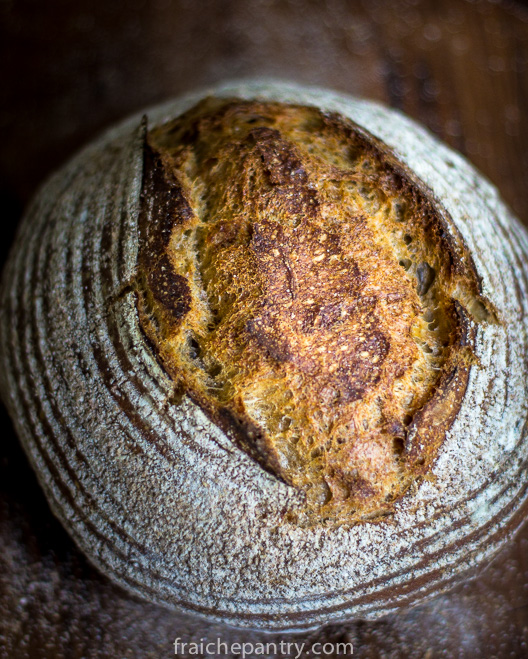
Julia Child once said: “ How can a nation be called great if its bread tastes like kleenex?”
So, does bread today taste like kleenex? pretty close in my opinion and unless you are lucky enough to live around the corner from some of the great artisan bakeries, chances are any humble loaf you make at home is far better than anything you buy at the store.
 In fact some may be surprised how many people are now baking their own bread.
Thanks to a New York Times article about an old bread making technique most recently revived by Jim Lahey of Sullivan Bakery in New York, more people are enjoying homemade bread.
Once I started making my own bread I never went back to store bought loaves. I usually make this loaf with homegrown culture but for this post I am using a small amount of commercial yeast.
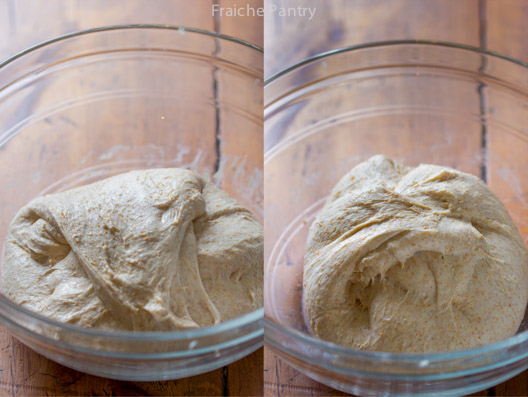
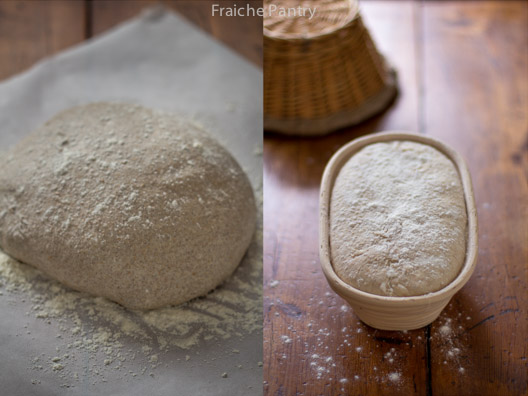
The pictures below show the stretch and fold technique.
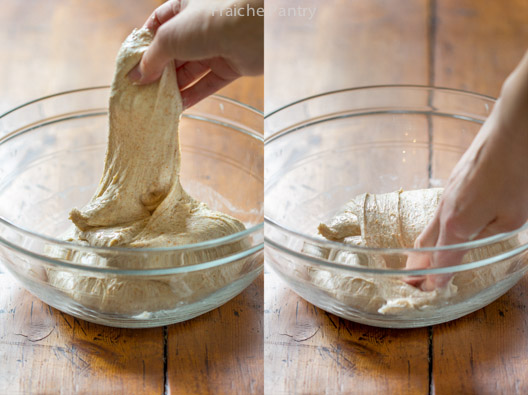
Dough becomes smooth and puffy after couple of series of stretch and folds.
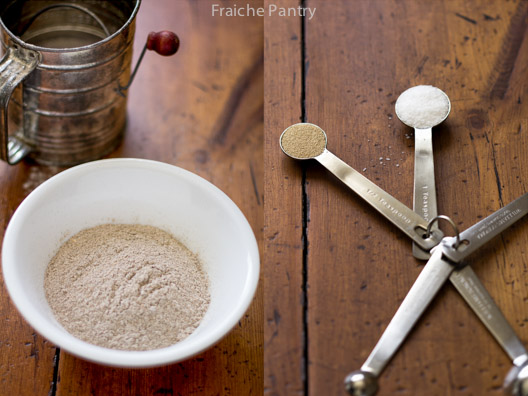
- 200g whole wheat flour
- 300g bread flour
- 10g wheat germ
- 10g wheat bran
- 375g lukewarm water
- ¼ tsp instant yeast
- 10g kosher salt
- In a large bowl combine bread flour, whole wheat flour, wheat bran and wheat germ. Sprinkle the yeast over the flour mixture and stir to disperse. Add water and mix until no dry flour remain. Cover bowl with plastic wrap and let sit at room temperature for 30 minutes.
- After the resting period, add the salt and a couple tbs of lukewarm water. Using wet hands, mix the dough squeezing it between your fingers until salt is thoroughly mixed in.
- Cover the bowl with plastic wrap and let the dough rest for a period of 2 hours during which you will perform a series of folds every 30 minutes taking care not to deflate the dough. To do a fold, grab one side of the dough, stretch it out and folded over itself - slightly rotate the bowl and grab another side of dough and repeat the fold until you perform 4 folds (think of the dough as having four corners and you will perform a stretch and fold for every corner). This will strengthen the dough. You will do this series of folds every 30 minutes during the 2 hour resting period.
- After the last fold let dough rest in covered bowl for 2 hours in the refrigerator.
- If not using a proofing basket, line a medium size bowl with a dry kitchen towel. Dust it generously with flour.
- Transfer dough onto a flour dusted kitchen counter. Shape the it into a taut boule and pop it seam side up into floured lined bowl or proofing basket. Dust top of dough with flour. Loosely cover with a piece of plastic wrap and a kitchen towel on top. Leave in refrigerator overnight.
- Place a heavy oven proof pot with lid in cold oven. Preheat to 500 degrees.
- Take the dough out of the refrigerator and gently invert dough onto a piece of parchment paper.
- Using oven mitts, remove hot pot from oven. With a sharp knife score dough by making two incision across the top.
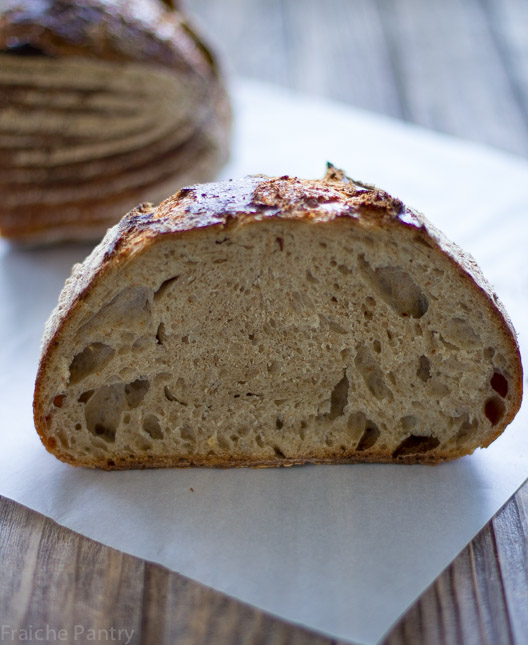
- Grab sides of parchment paper and carefully lower dough into hot pan taking care not to burn yourself. Cover with lid and return to oven. Bake at 450 degrees for 25 minutes. Reduce heat to 400 - carefully remove lid and continue baking for another 20 minutes or so until crust is golden brown.
- Transfer loaf to a cooling rack and let cool.